If you are into retro gaming, you may have come across files with a CHD extension. These files typically contain little gems that are used to preserve and catalog some of the oldest games to hit the arcade scene. CHD files typically work hand-in-hand with an open-source arcade machine emulator known as MAME, but that isn’t their only use!
What Are CHD Files?
Known as Compact Hunks of Data, these files contain the full spectrum of assets used in older arcade machines that are replicated by an emulator known as MAME. Specifically in MAME, these files are complete replicas of the contents of the hard disks found in arcade machines. This explains why they are so large.
More recently, CHD files have become a niche alternative to ISO files or BIN/CUE pairs to emulate large games that customarily ran on CD-ROMs. This includes emulators like some of the PlayStation Libretro cores in RetroArch and, by extension, all the popular emulation-oriented distributions for the Raspberry Pi series of microcomputers.
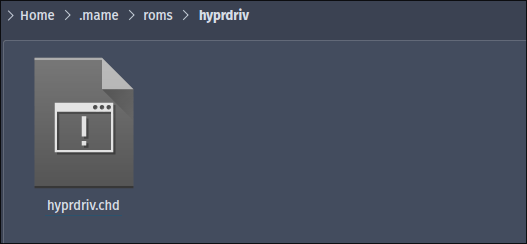
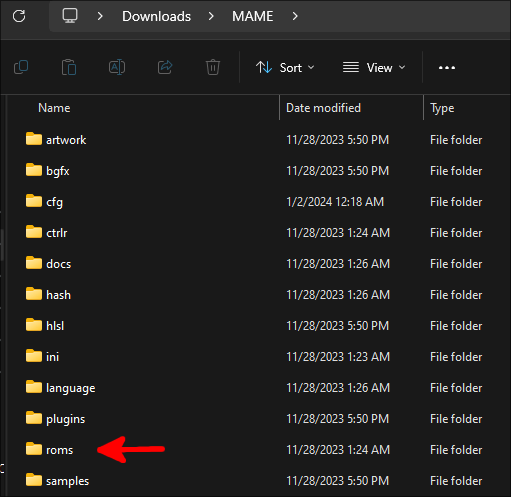
If your CHDs are MAME ROMs, they will need to be stored in a folder within the MAME ROMs directory with the same name as a zip archive that contains the actual firmware of the arcade machine being emulated. In Linux, MAME’s ROMs directory is usually ~/.mame/roms. In Windows, it’s the roms folder within the directory that you extracted MAME into with the portable installer.
If they are backups of games for the original PlayStation or some other console that used optical discs, they should be placed directly in the emulator’s ROM subdirectory.
In the case of console emulators, CHD files usually contain the whole game, so you can “open them” in the emulator and start playing. In MAME, though, they are only the assets of the game, as MAME primarily emulates arcade machines.
Unlike gaming consoles, arcade machines from the mid-80s onward usually had a specific hardware profile that allowed them to run one single game. They almost universally followed a model, where all of the execution code in a game would be stored in a ROM chip, and all of the visual assets would be stored on either a CD or, more commonly, a hard disk drive.
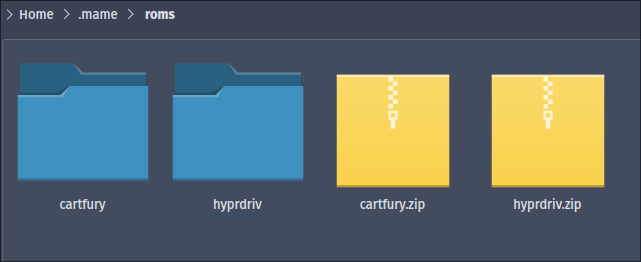
MAME cannot open CHDs on their own because of this model. Remember, they are the hard disk portion of the arcade machines they inhabited. MAME must first open a ROM file containing the execution code (almost universally a zip file). It will search for a folder with the same name as the ROM file and look for the CHD in there. The directory structure within the ROMs folder, then, must look like this:
- game
- game.chd
- game.zip
If all you have is the CHD file, you’ll need to find the correct firmware for the game that works with the version of MAME you’re using.
Check CHD File Contents
The best (and, from what we know, only) tool for working with CHD files comes from their source, from MAME itself. It’s called chdman. Depending on your MAME setup, it’s either already installed, or you can bring it on board:
On Ubuntu/Debian/Mint:
sudo apt install mame-tools
On Fedora/RHEL-based distros:
sudo dnf install mame-tools
On Arch Linux:
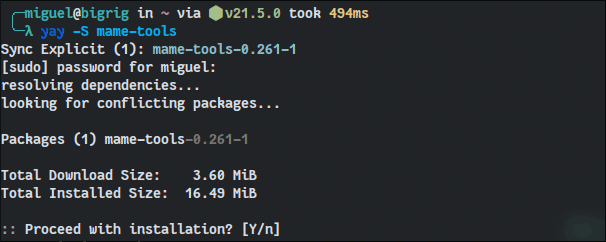
sudo pacman -S mame-tools
It should be preinstalled on Windows. It will be called chdman.exe within the MAME root directory.
To check a CHD image and see some information about its structure, use:
chdman info -i IMAGE_FILENAME.chdIf you’re using Windows, right-click on the MAME root folder, click Open in Terminal, then type:
.\chdman.exe info -i IMAGE_FILENAME.chd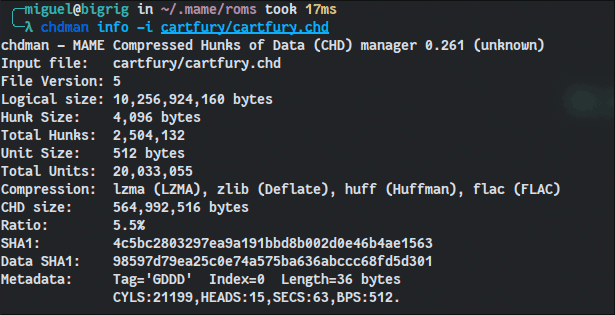
Convert Your CHDs
You can use the same tool to extract the contents of a CHD file and to create one.
Converting a CHD to a more accessible format, like IMG for hard disk drive backups or a BIN & CUE combination for CD backups, has a point only if you’re going to use those files in a different emulator that doesn’t support the CHD format. In the case of hard disk image files, use:
chdman extracthd -i IMAGE_FILE.CHD -o OUTPUT_FILE.IMG
Or for Windows:
.\chdman extracthd -i IMAGE_FILE.CHD -o OUTPUT_FILE.IMG

For CD backups, replace extracthd with extractcd in the above command.
If you are using an emulator like PCSX ReARMed or Demul, RetroArch, or some emulator distribution for your Raspberry Pi, theoretically, you only have to place your files in the emulator’s ROM path for it to detect and use them.
Your ROMs folder can look chaotic if it contains backups of more than one game that:
- Was originally in CD format
- Is now stored in BIN & CUE combinations
- Contains multiple audio tracks
With the CUE & BIN combination, each track of the original CD is saved as a separate BIN file, so a single game can be split into dozens of files.
The CHD file format was created as a more modern way to store such ROMs, thus excelling in every regard. Everything can be contained in a single file, and lossless compression is smartly applied depending on the content for optimal results. For example, typical data could be compressed with the zlib algorithm, but individual audio tracks are compressed with Flac. This leads to great compression rates with zero data loss, since the types of compression used are “lossless.”
To convert a game split among a CUE and a bunch of BIN files to a single CHD file, use:
chdman createcd -i "FILENAME.cue" -o "OUTPUT_FILENAME.chd"
Or in Windows:
.\chdman.exe createcd -i "FILENAME.cue" -o "OUTPUT_FILENAME.chd"
Although you can, you don’t have to tweak the compression parameters – the optimal choices will be automatically chosen for you. During the conversion, chdman will present, among other information, the different types of compression it uses in each case.
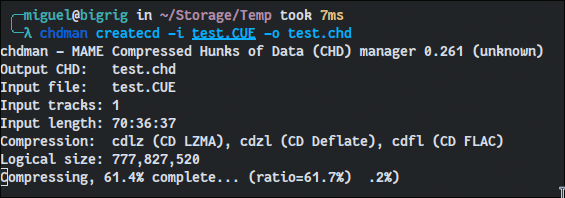
After the conversion completes, try loading your new CHD file in the same emulator you used initially to load that game. If it works, delete the original files and move to the next game.
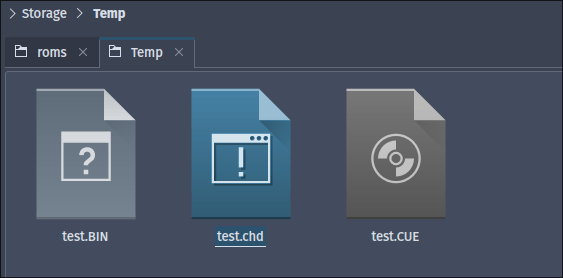
When you check the files, you may notice that the newly created CHD file is significantly smaller than the BIN, IMG, or ISO files you converted, as many of these ROMs contain artifacts from the gaming systems that they were designed for and act as if certain bits of their data still need to occupy certain positions on the disk. Since you’re using an emulator, compression will get rid of a lot of this bloat without affecting the overall quality of the content you enjoy on it.
If you keep many retro games around, when you convert the largest of them to the CHD format, at least for the emulators that support it, you can end up saving multiple gigabytes of space – gigabytes that you could then use to store even more retro games! If you’re into playing retro games, learn how to rewind them to a previous state.
All images and screenshots by Miguel Leiva-Gomez.
Our latest tutorials delivered straight to your inbox