Pros
- Fast engraving speeds
- Safety features built in
- Smoke exhaust filter
- Send projects from mobile app, microSD card, or computer
- Cuts thin basswood in a single pass (20W version)
- Supports larger projects
Cons
- Major assembly required
- Needs more instructions
- Not the best for beginners
- App is glitchy sometimes
Ever wanted to use an app to send photos from your phone to a laser engraver for unique projects and gifts? The Phecda Laser Engraver and Cutter supports that and much more. It promises fast, accurate results for both small and large projects. I recently had the opportunity to test this laser engraver to see how well it works.
This is a sponsored article and was made possible by Elegoo. The actual contents and opinions are the sole views of the author, who maintains editorial independence even when a post is sponsored.
Overview of Features
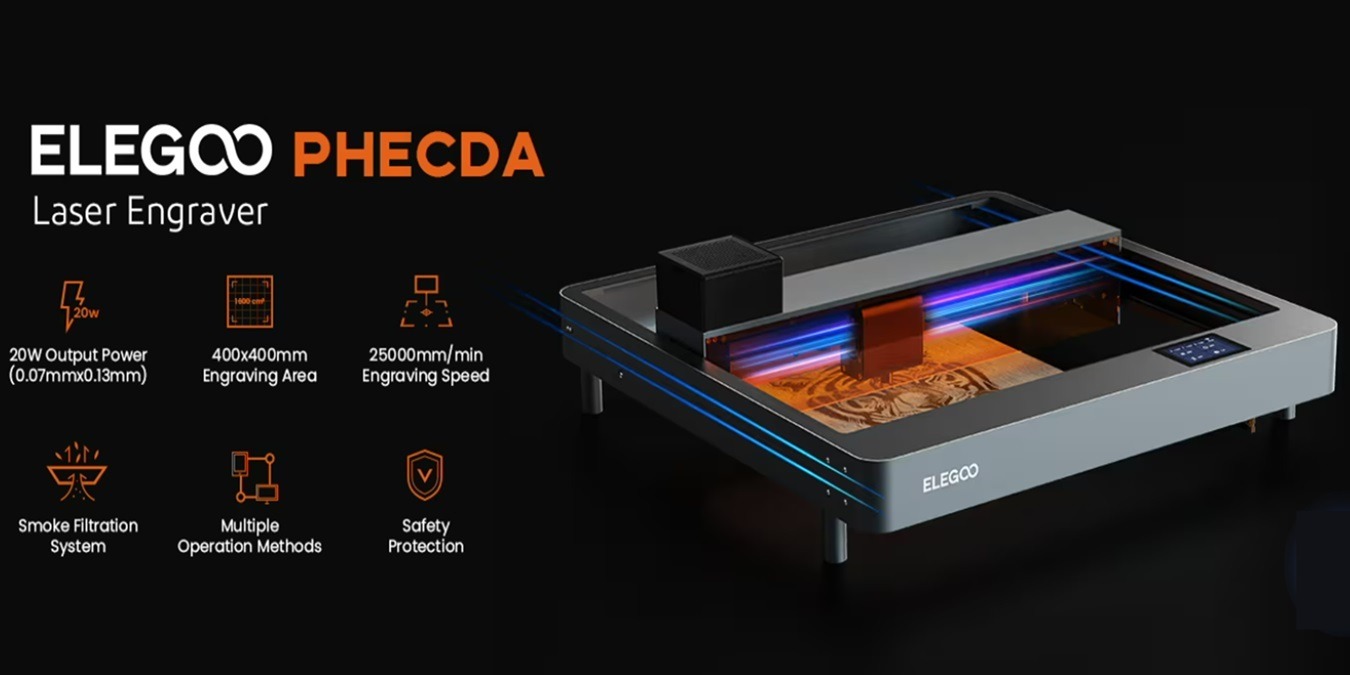
The Phecda Laser Engraver and Cutter comes in two varieties: 10W and 20W lasers. I tested the 20W laser engraver with air assist for my review. While both work similarly, the power levels are different. My review is based on the 20W version.
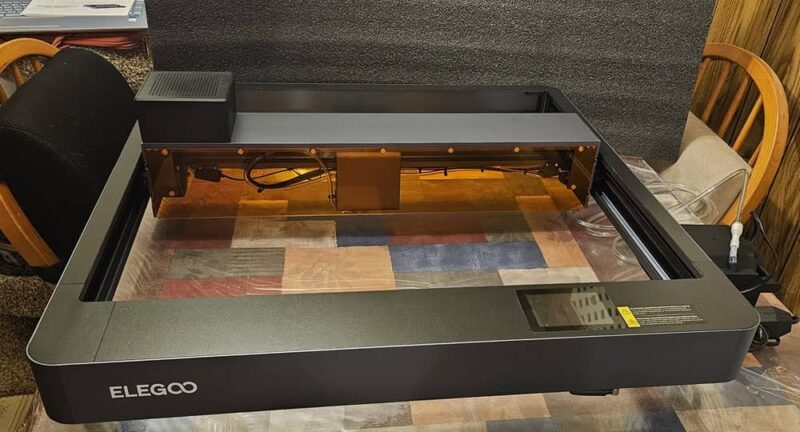
The large 400 mm x 400 mm work area gives you ample room for larger projects. Plus, leg risers and an adjustable laser head give you room for taller projects. If you’re engraving a cylinder, such as a cup, the max supported diameter is 56.5 mm.
Phecda is designed to work quickly. The 0.07 mm x 0.13 mm laser focal point can work at speeds as fast as 25,000 mm/min. This is without sacrificing the quality of the finished product. Naturally, the speed you use varies based on the material. This engraver supports wood, bamboo, craft paper, leather, stainless steel, aluminum, and more. Please note that the Phecda laser engraver does not cut metal, only engraves it.
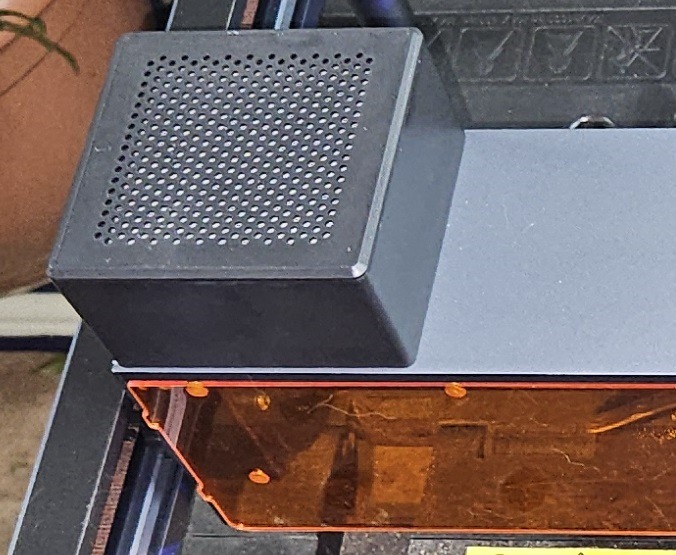
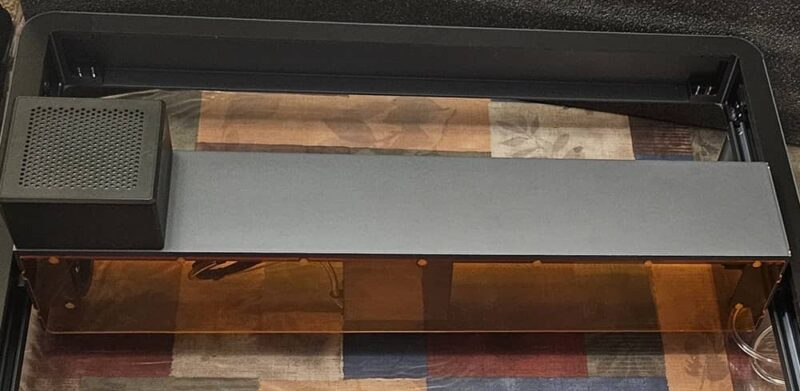
Usually, one of the worst parts of any laser engraver is the smoke. A built-in smoke exhaust filter (that’s easy to remove and replace) and fans drastically reduce the smoke, making it easier to work with. Plus, the magnetic shading plate further reduces how much smoke is released and helps shield your eyes from the laser.
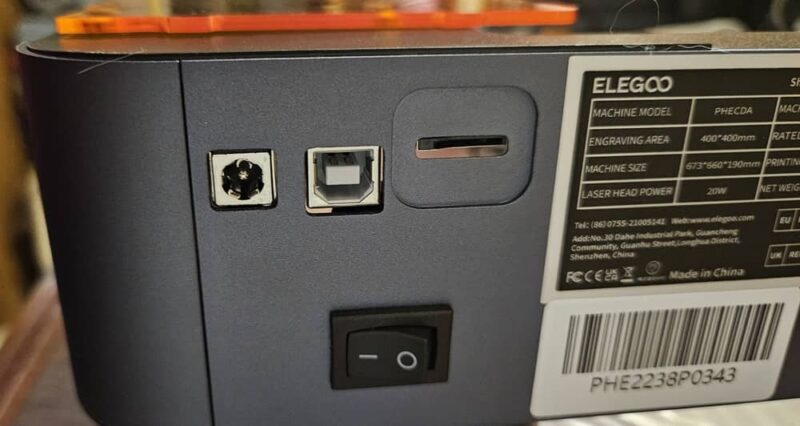
There are three methods to operate the machine: the Phecda mobile app, a microSD card, or USB cable connection. As with most laser engravers, it supports LightBurn and LaserGRBL to better control the power, speed, and number of passes.
Should something go wrong, and the machine detects flames, it beeps and turns off immediately. It also sounds an alarm and pauses activity if the machine tilts, moves, or falls while working.
In the Box
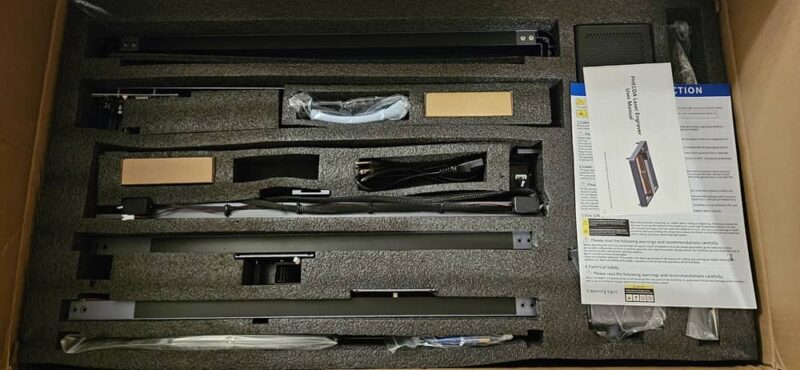
The Phecda Laser Engraver and Cutter comes complete with all the screws and tools you’ll need to assemble the machine. Both the 10W and 20W laser engravers come in different package styles. The first includes an air assist module for easier cutting. Another includes extra filters. The other version includes the previous options along with a honeycomb panel and rotary attachment.
My version included the following:
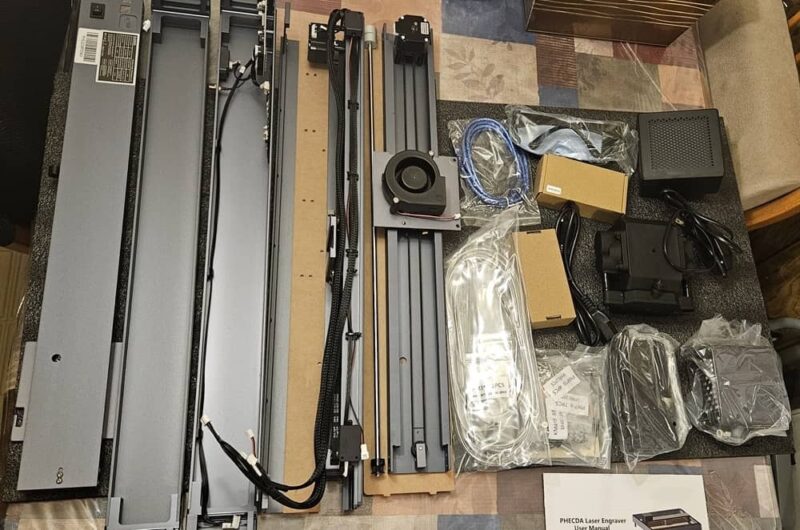
- The engraver frame and power supply
- Power cord
- Screws
- Wrenches
- Engraving materials (a single piece of wood, small metal heart, and small piece of leather)
- Adjustable risers
- Air assist module
- Safety goggles
- microSD card and USB card reader
- USB cable
- User manual
The basic version does not include a cutting mat, so you’ll need to buy this separately or make one of your own.
Assembling the Phecda Laser Engraver and Cutter
This was the worst part of reviewing the laser engraver. It’s not easy to assemble. Honestly, I’m not sure why it’s not already at least partially assembled upon arrival. Instead, it took over two hours to put everything together, and that’s with someone else helping to hold a light and balance the frame during various steps. You even have to thread the belts in place.
My advice is to just skip the paper manual and watch the assembly video on the included microSD card. It’s much easier to follow.
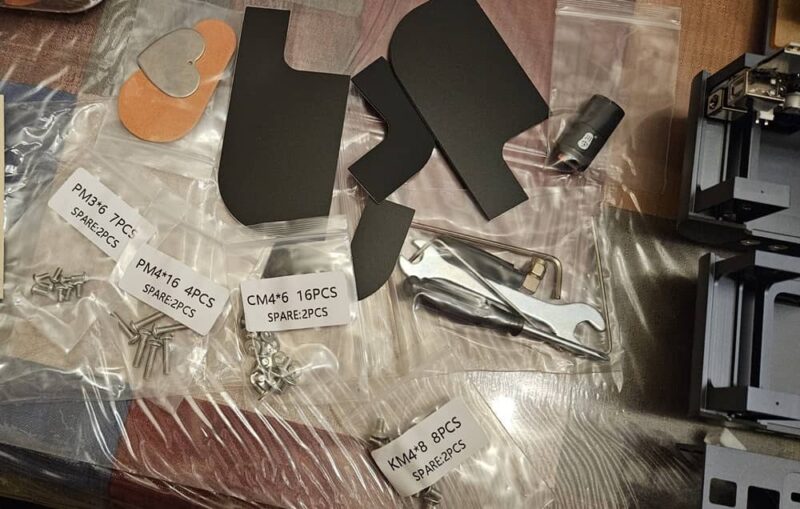
What I did like is Phecda includes a few extra screws of every type, just in case you lose some during assembly. The bad part is one of the screws used to adjust the laser height was loose in the box and fell out when I first opened the package.
Once assembled, everything looks nice. I really like the magnetic UV plate. It’s easy to remove and replace when needed.
Controlling the Laser
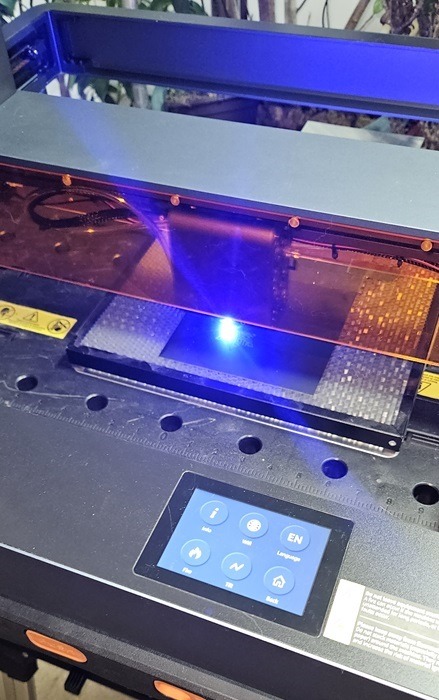
Since I’d never worked with a mobile app to control a laser engraver before, I started there. The free Phecda app isn’t perfect, but still fun to use. I followed the instructions and inserted the microSD card into the Phecda Laser Engraver and Cutter.
Next, I had to connect my phone to the engraver’s Wi-Fi network. The app disconnected several times before I finally got it to stay connected. After that, I chose my file, the material, and sent the project to the engraver. I wish the app had more features for framing, but even the manual movements in the app don’t work every time. So, it could use some work.
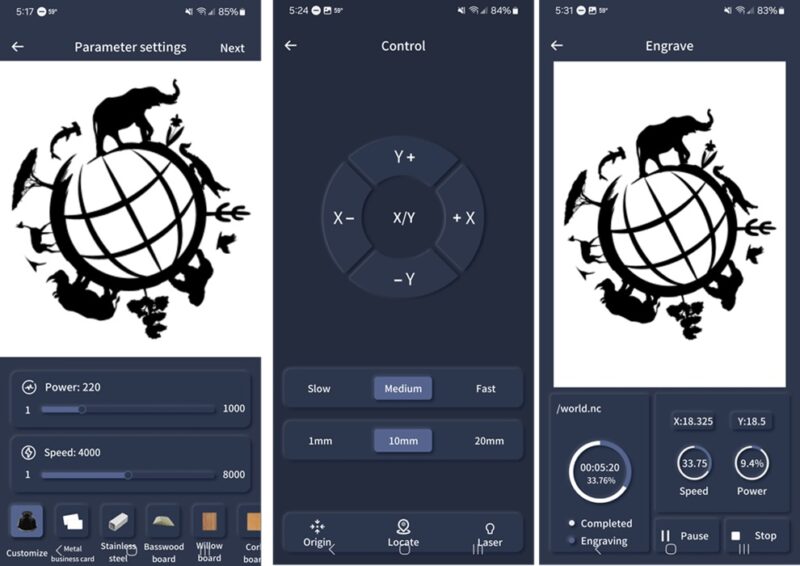
But, what’s nice is you can upload photos from your phone and even draw custom items inside the app to engrave. I think with some tweaks, the app could be an amazing feature. As you can tell from the image below, the suggested power settings were a bit too high. I had to pause and change the parameters.
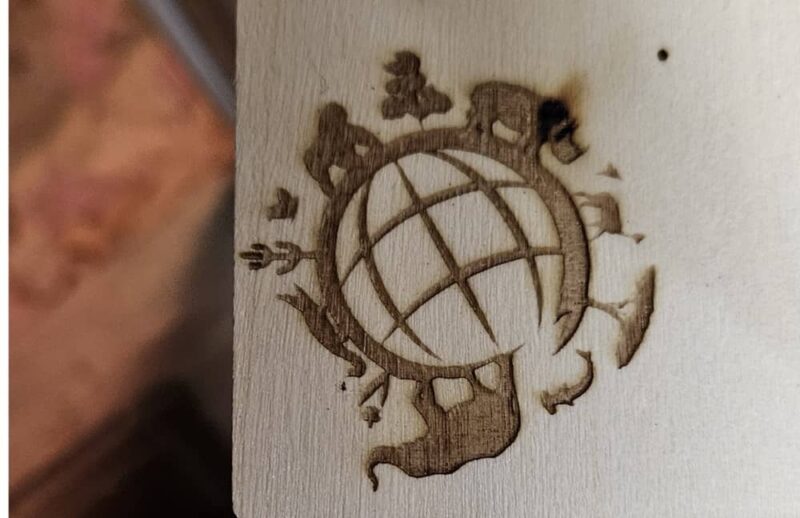
I opted to use LightBurn to control the engraver. But, LaserGRBL is included on the microSD card to install as well. While the instruction manual offers some general power and speed suggestions, it’s not really clear on anything else. It takes some trial and error to get things right.
Personally, I wish the company had included a few sample files along with step-by-step instructions for setup. There’s one sample use LaserGRBL, but when I used the parameters, the power was way too high and burnt through the wood.
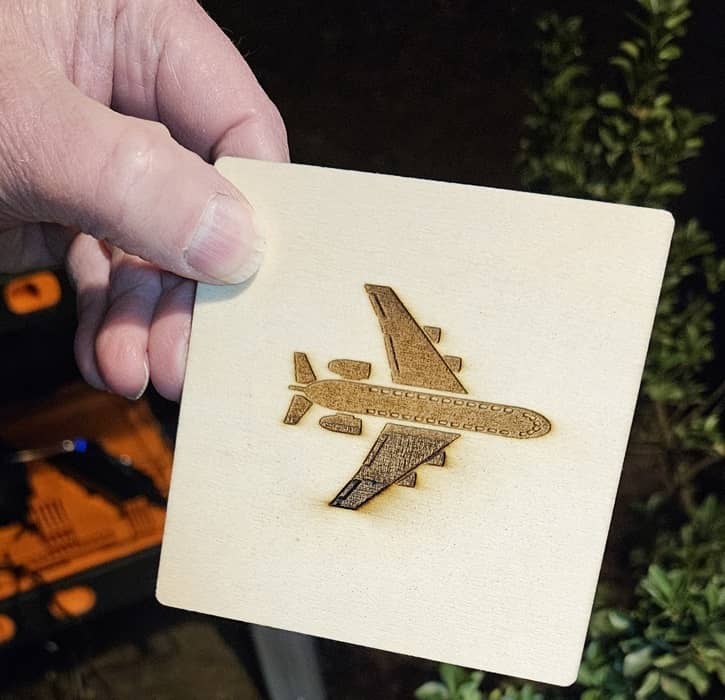
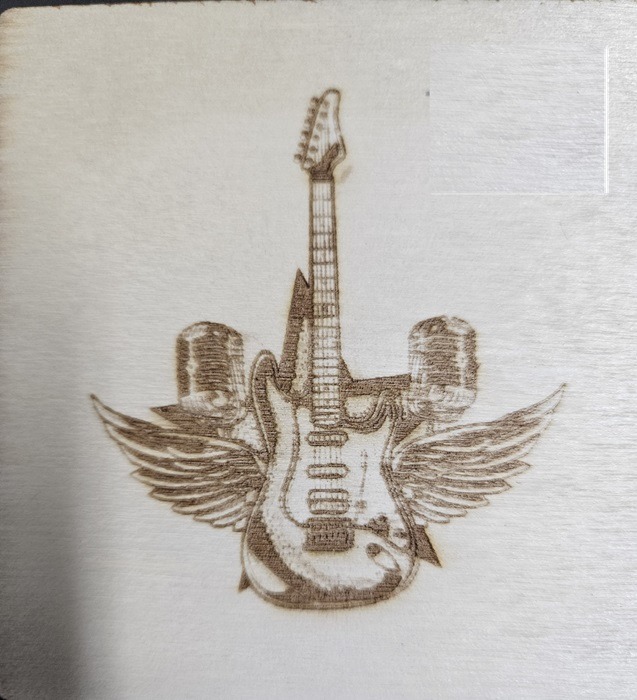
Thanks to some previous experience with laser engraving, I was able to set up several projects to engrave. I was incredibly impressed with just how fast the laser works. I used 3.75-inch square pieces of basswood. The guitar (pattern from FreePik) pictured below took less than 10 minutes.
I also tried cutting. Usually, it takes two passes, even with a 20W laser, to get a perfectly clean cut. While I used two, my snowflake was cut out in just one pass. Once again, it took less than 10 minutes to finish.
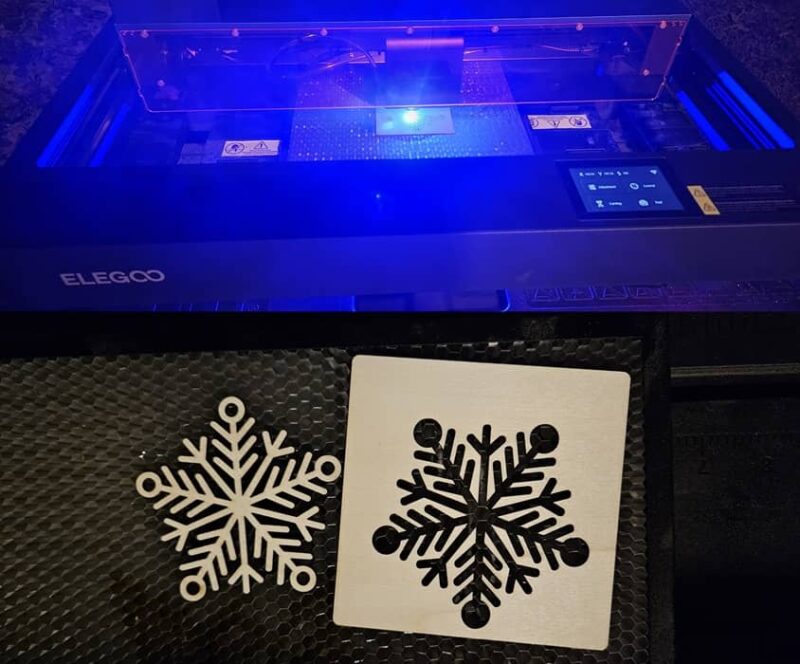
The filter, fans, and magnetic plate do wonders for reducing the smoke. Yes, there’s still some smoke, but I’d say it reduced it by 50% to 75%.
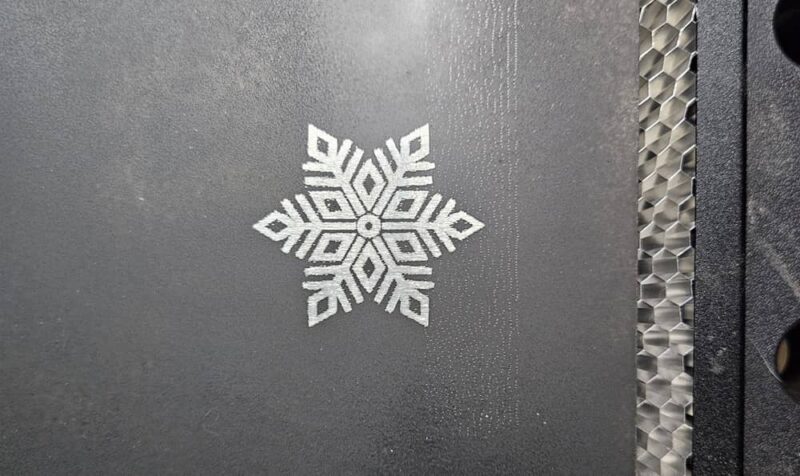
My final test was engraving metal. I used a black piece of aluminum to engrave a snowflake. The manual states it’ll only take one pass, but you’ll need far more than that. Once again, play around with the settings using some spare supplies to get everything set up just right. But, I was able to engrave a beautiful snowflake into the metal.
Final Thoughts
Overall, the Phecda Laser Engraver and Cutter is a powerful, accurate, and surprisingly fast machine. Assembly isn’t an enjoyable process, and better overall instructions would be nice. I wouldn’t personally recommend it for complete beginners. Having a little experience helps a lot with this machine.
Once you get the settings right, you’ll absolutely love working it, though. Grab the 20W Basic package for just $449.99.
Our latest tutorials delivered straight to your inbox