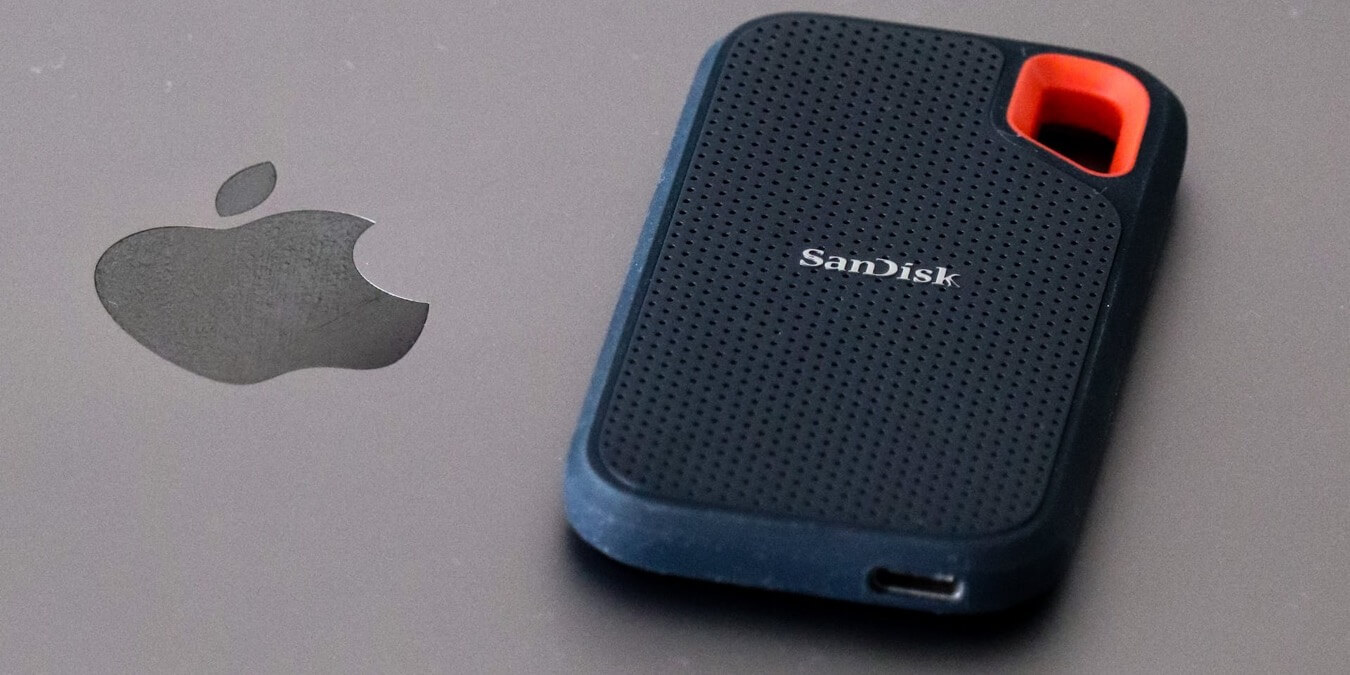
When your Mac throws up a “Read Only” message for your external hard drive or USB stick, it’s typically down to two reasons: either the drive is formatted in NTFS or a similar file system, which your Mac can read but not write to, or there are permission settings getting in the way of your Mac or user account writing to the disk. This guide shows how to navigate these hurdles and get your external storage working smoothly with your Mac.
Preliminary Fixes
- Back up your data: before proceeding with any solutions to change the “Read Only” permission error on your Mac, it’s important to safeguard your data. Be sure to back up the contents of your external drive to a secure location, such as on your Mac or another computer.
- Try a different user account: use a different user account that has appropriate permissions to access the hard drive by default. Create a new user profile on your Mac, or switch to a different existing user account. Either way, ensure that the user account has administrative privileges.
Tip: having trouble identifying which users have admin access to files on your Mac’s drive? Try repairing disk permissions on your Mac.
Reformat the Hard Drive
Reformatting the hard drive is often the most effective solution to the “Read Only” permission issue on Mac. However, note that this process will erase all data from the drive. Reformatting involves wiping the drive clean and setting up a new file system.
Your options for Mac-compatible file systems include:
- Apple File System (APFS): APFS is the standard for Macs running macOS 10.13 or later. It’s a robust, efficient format, but not natively compatible with older Macs or Windows.
- APFS (Encrypted): offers the same features as standard APFS but with added encryption for better security.
- APFS (Case-Sensitive): differentiates between file and folder names based on case sensitivity (e.g., “Document” and “document” are seen as different).
- APFS (Case-Sensitive, Encrypted): Combines case sensitivity with encryption, providing both security and precise file naming.
- Mac OS Extended: ideal for macOS 10.12 or earlier. It’s a solid choice for compatibility with older Mac systems but doesn’t support Windows out of the box.
- exFAT: versatile format that’s compatible with both Mac and Windows, perfect for drives you plan to use across different operating systems. It supports large file sizes, making it a good option for transferring files between Macs and PCs.
- MS-DOS (FAT): also compatible with both Mac and Windows. However, it’s limited to transferring smaller files (under 4GB), which could be a constraint for some users.
When it comes to using your external drive solely with your Mac, the APFS file system is your best pick. However, if you’re looking to switch between your Mac and PC, exFAT is a more flexible option.
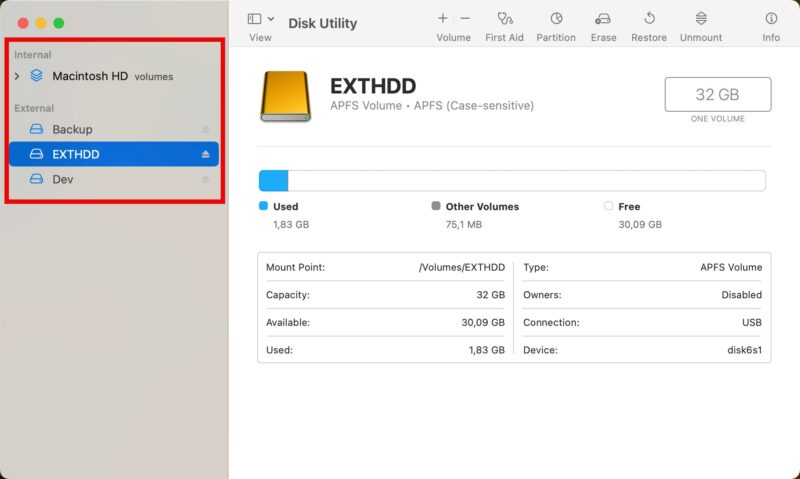
To reformat your hard drive, start by plugging it into your Mac, then make your way to Applications -> Utilities -> Disk Utility. Select your hard drive from the list on the left sidebar of the Disk Utility window.
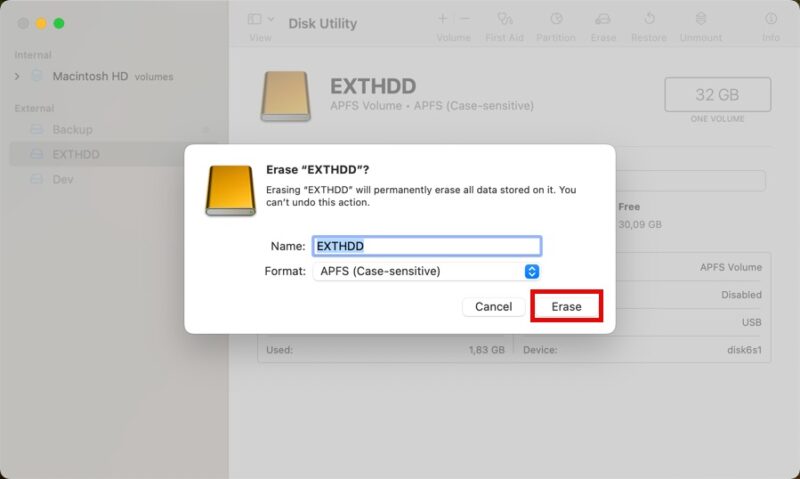
Click on Erase at the top, then choose the format for your drive. Let’s assume you are choosing APFS. After selecting your format, hit the Erase button to start the reformatting process. Soon, your hard drive will be ready for use with your Mac.
Install Missing File System Drivers
As explained above, macOS doesn’t support certain file systems by default, such as NTFS (common in Windows) or ext4 (used in Linux). To overcome this hurdle, install missing file system drivers, enabling your Mac to read and write to these drives.
For NTFS support, an excellent option is Mounty, an open-source tool. Mounty operates as a user interface for the NTFS-3G driver, enabling read-write access to NTFS-formatted volumes.
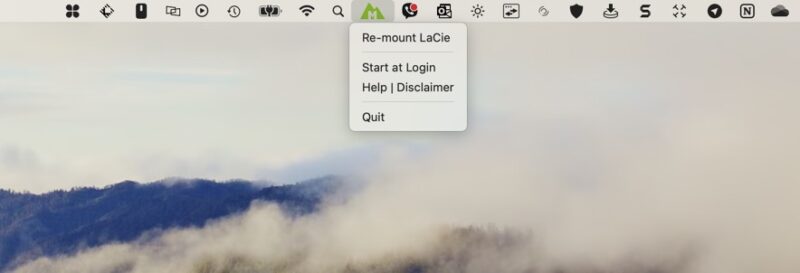
Download Mounty from its official website, and install it on your system. Alternatively, use the Homebrew command to do the same: brew install gromgit/fuse/mounty. Launch Mounty, and it should appear in the menu bar. Newly-connected drives will be mounted automatically.
For Linux file systems, like ext2, ext3, and ext4, extFS by Paragon Software is a robust choice. This software grants full read-write access, allowing you to manage files on Linux-formatted drives directly from your Mac. Unfortunately, extFS is a commercial product, but there’s a free trial version that you can download from Paragon’s website.
Tip: learn more about how to mount and access the Ext4 partition on a Mac.
Run First Aid on the Drive
If file system incompatibility isn’t the cause, try running First Aid on your external drive. The First Aid process involves scanning the drive for errors, repairing file system issues, and verifying and correcting permissions.
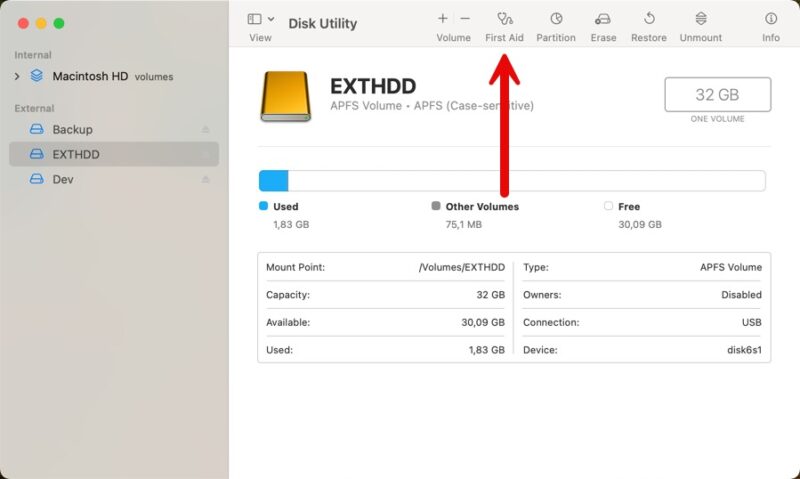
Head to Applications -> Utilities -> Disk Utility on your Mac, select your external drive from the sidebar on the left, then click on First Aid at the top of the window. Hit Run to kick off the First Aid process. This part may take a bit, especially if your drive is large or has many issues to fix, but it’s worth the wait.
Good to know: is your Mac hard drive experiencing problems? Learning how to run a file system consistency check could help you resolve these issues.
Use Terminal to Manage Disk Permissions
You can also try using Terminal’s command-line instructions to change the read-only permission issues on your Mac. By executing specific commands, you can modify ownership, adjust permissions, and grant the necessary read/write access to files and directories.
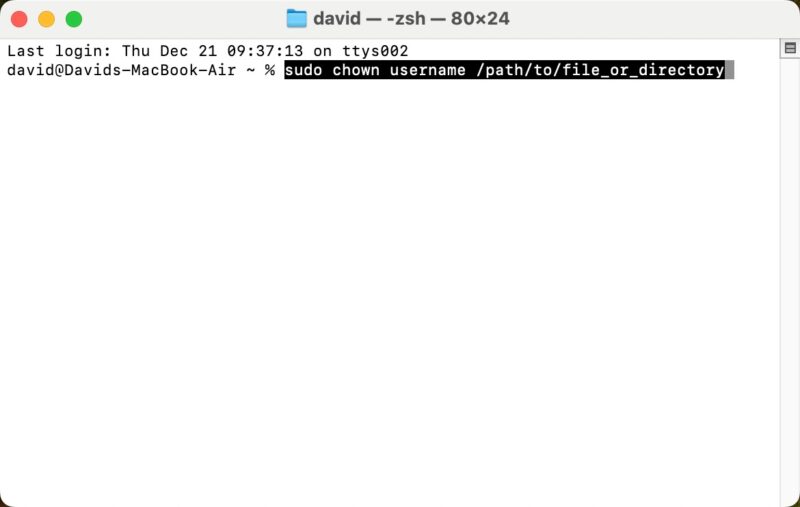
Start by opening the Terminal app (you can find it in Applications -> Utilities). To change the ownership of the file system on your hard drive, use the chown command. This will look something like sudo chown username /path/to/file_or_directory. Just remember to replace username with your actual user or account name and /path/to/file_or_director
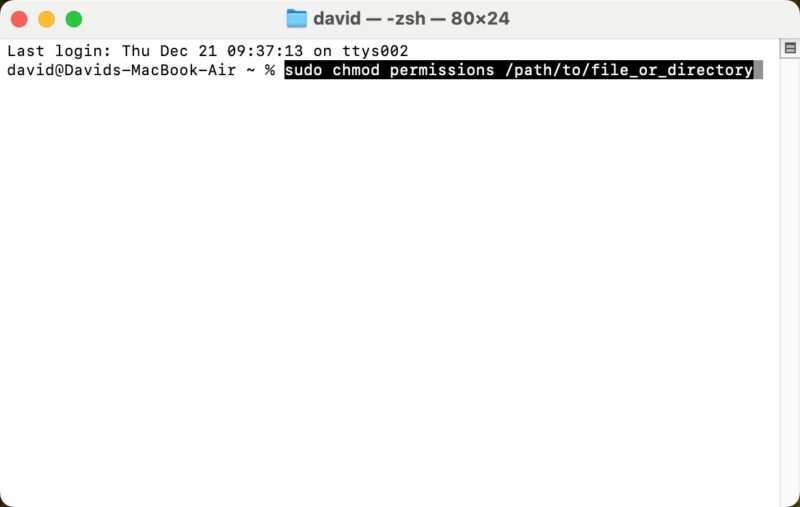
Adjust the permissions using the chmod command, like: sudo chmod permissions /path/to/file_or_directory. In this command, swap permissions with the specific permission settings you need (like 755 or 644), and again, make sure the path to the file or directory is correct.
Tip: you can verify that the permissions have been successfully changed by using the “ls -l” command to list the external drive with its respective permission, even if it’s hidden.
Fixing the “Read Only” permission issue on Mac does not have to be a complex and time-consuming task. Be sure to back up your data, and experiment with using a different user account before attempting to reformat your hard drive. You can also try running First Aid with Disk Utility or using Terminal to manage disk permissions. And if, after all these steps, you find yourself still struggling to write files to your disk, it’s worth checking out our guide on how to resolve Error Code 50, which could be the underlying culprit.
Image credit: Pexels. All screenshots by David Morelo.
Our latest tutorials delivered straight to your inbox