Pros
- High-end dashcam with monitor
- High-resolution 4K and 2K front and back
- Plug-and-go installation
Cons
- Position of power/plugs on the unit favour left hand drive cars
- Hard wiring kit needs pro installation
Dashcams provide much added value for drivers. They record events on the road that may be forgotten in the heat of the moment. They can provide proof in an accident, which can reduce your insurance premiums, and provide security and peace of mind, especially if they can remain active even when the car is turned off. The new Viofo A229 Pro is one such dashcam and gives you very clear eyes on any situation that develops on your car journeys.
This is a sponsored article and was made possible by Viofo. The actual contents and opinions are the sole views of the author, who maintains editorial independence even when a post is sponsored.
Eyes on the Road
The new Viofo A229 Pro Dashcam is a fabulous new top-of-the-line dashcam. This review covers the three-channel version, which means it has three cameras: a front camera and optional back and interior cameras.
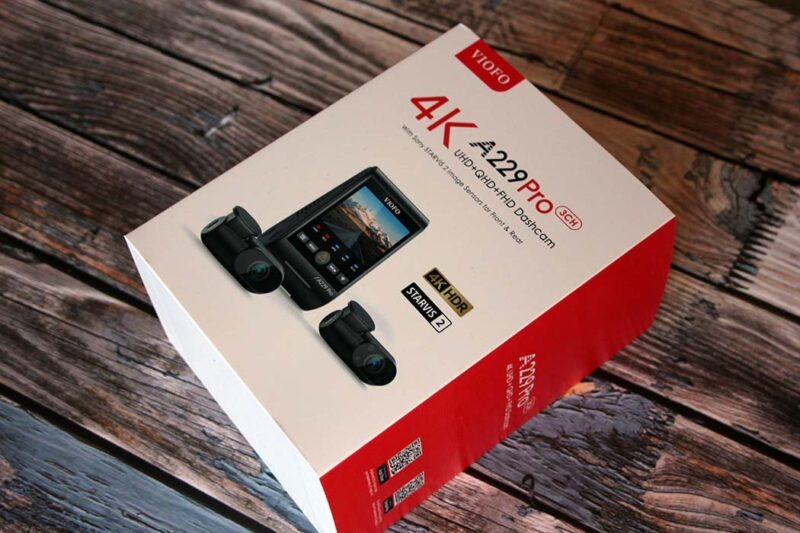
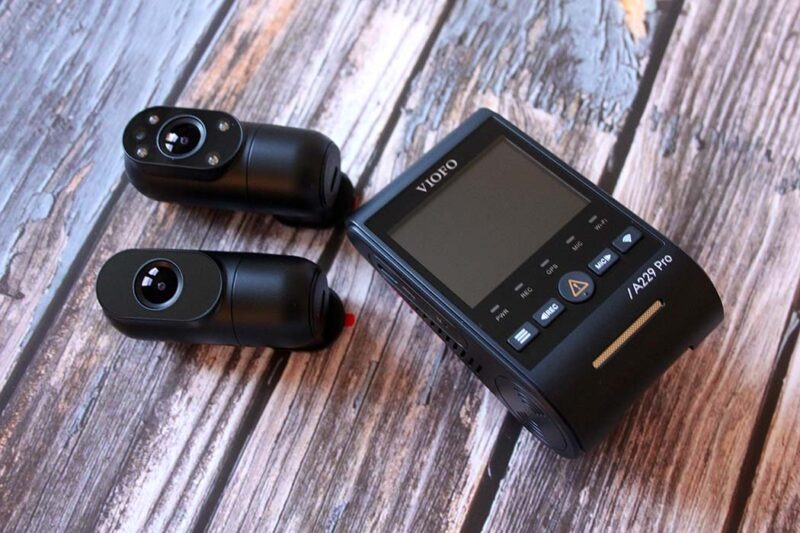
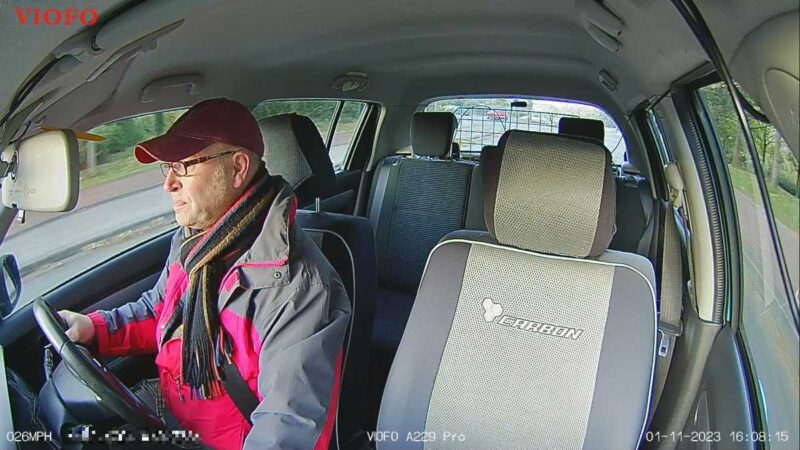
The kit consists of the main camera contained in the windshield unit and two subsidiary cameras: one for the rearview and one for the interior of the car. The main front-facing camera is a Sony STARVIS 2 IMX678 sensor Full 4K camera with a resolution of 3840 x 2160 at 30fps, the rear is a STARVIS 2 IMX675 sensor Quad HD or 2560 x 1440 at 30fps (sometimes called 2K), and the interior camera is a Sony STARVIS IMX307 Full HD or 1920 x 1080 at 30fps. The interior camera also has infrared lamps built in for night vision, allowing you to get images even when it’s dark.
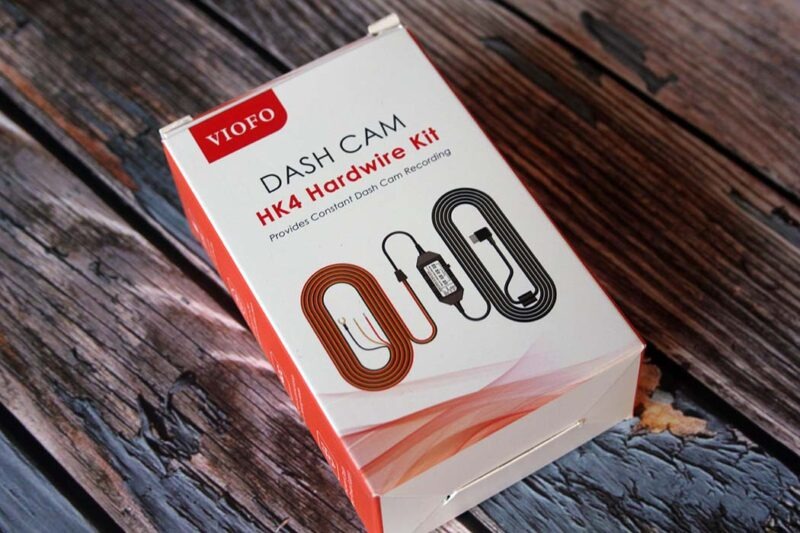
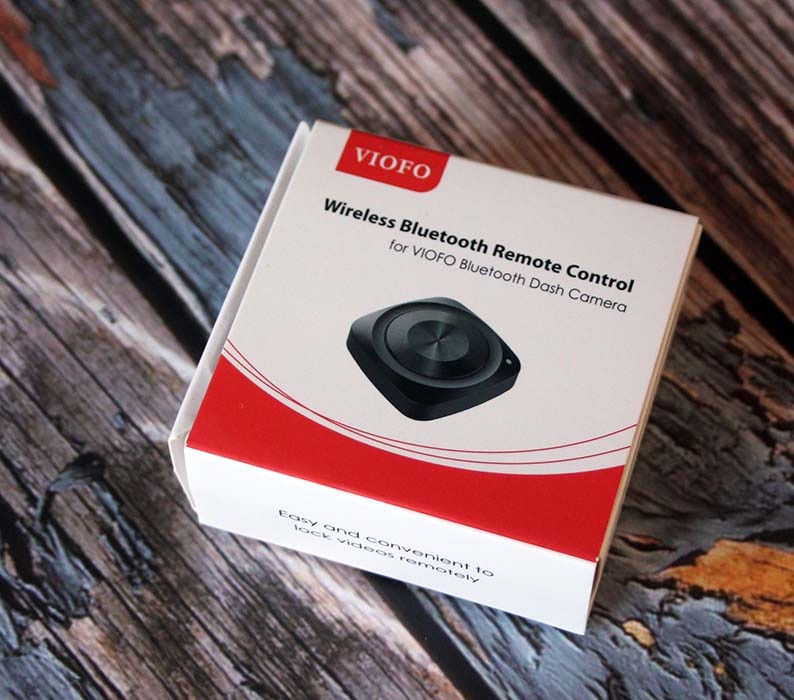
Also included in the review kit are the optional Bluetooth remote button and hardware wiring kit. This supplies the camera system with power directly from the car’s internal electrical system. You can wire this in yourself, but I would not recommend fitting it yourself, as it’s dabbling with the car’s electrical system, which can be very dangerous. Unless you have experience with electrical systems (which I have not), it’s advisable to leave it to the pros.
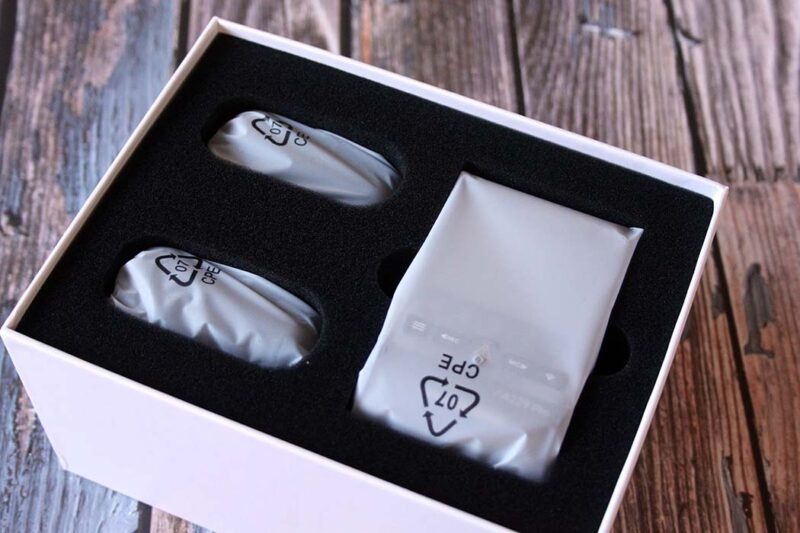
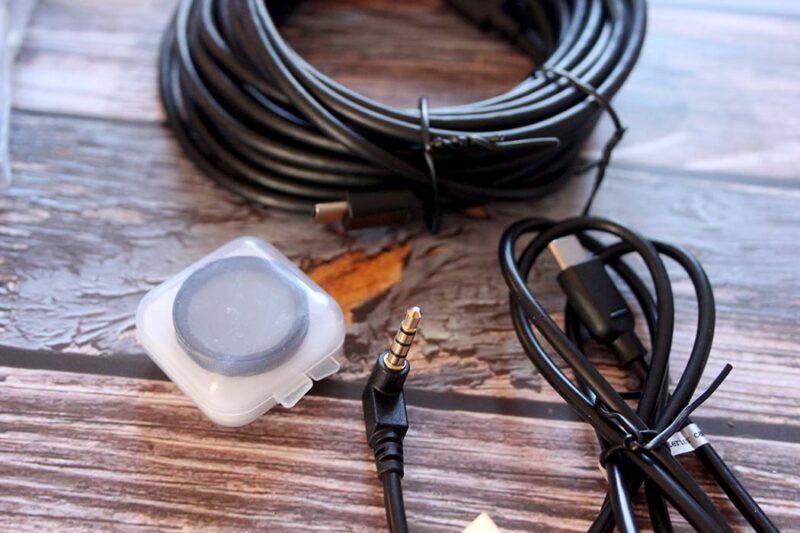
Along the three cameras, you also have cabling. Included in this version is:
- data cable
- car charger adapter (which powers the cameras from the accessory socket)
- rear camera cable
- interior camera cable
- trim removal tool
- adhesive and static stickers for mounting the units in the car
Also included is something that motorists from the sunnier parts of the world will find useful: a neutral density filter that acts like sunglasses for the front camera, reducing glare.
Installing the Camera Set
Getting set up with a dashcam can be a bit of a fiddle. First, use the adhesive stickers to position the cameras inside the car. Do clean the surface of the window to remove all dirt and grease from the screen beforehand, as it has to be clean to help with adhesion.
The camera on the front window is always the most difficult, as it can be quite hard to reach the top of the front window. Once you have gotten it up there, it’s very hard to position it straight. If you are a fanatical picture straightener like me, this can be a little maddening.
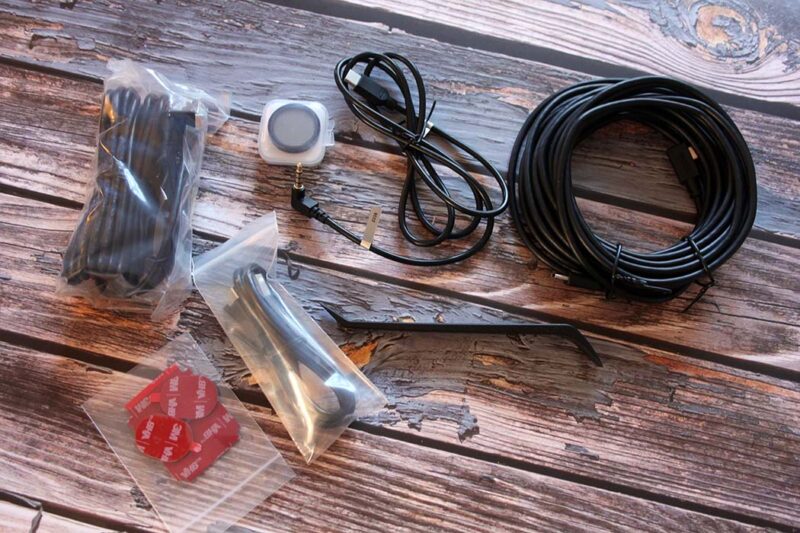
Fortunately, you probably aren’t going to be sticking the massively grippy 3M stickers directly to your windshield. You will be sticking the transparent static stickers on first, then positioning the 3M grippy sticker on top of that. This gives you a little bit of leeway for repositioning. Be sure to snip the static stickers down a bit. It’s good that there are spares.
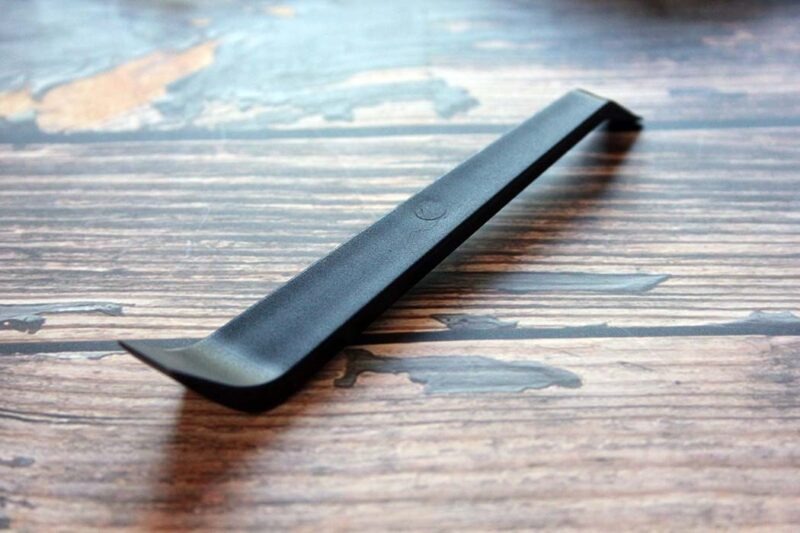
Next you have to do the wiring. There is a tool included to help you push the wires into the trim of the car, making the whole installation discreet, and more to the point, safe.
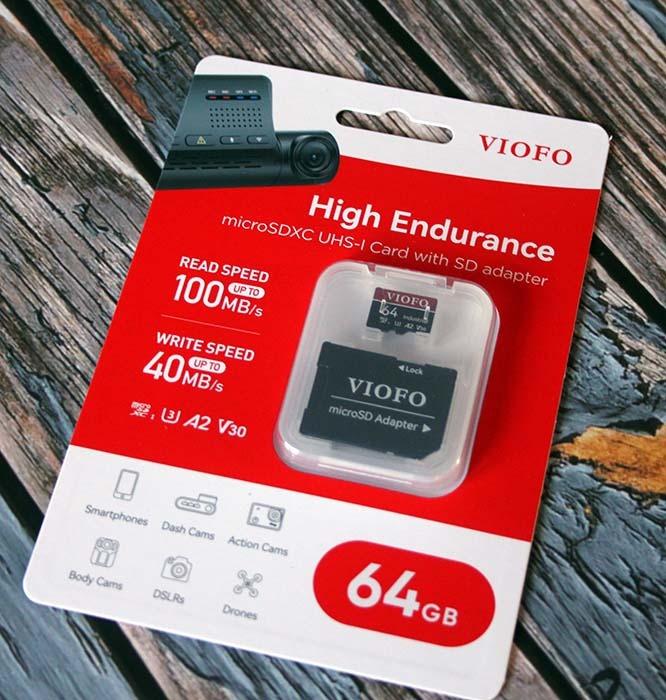
Once you plug the cables in to power it from the accessory adapter (a.k.a. the cigar lighter), slip in a TF/SD card into the front camera, and you’re good to go. Of course, if you have the hardware wiring kit, you can skip this step, and your cameras will be always ready for action. Be aware that the hardware wiring installation would need to be done by a professional.
The only remaining bit of setup is to connect the Wi-Fi in the camera to your phone to connect and review/save videos from the camera wirelessly. Obviously, the monitor on the camera removes the necessity for this, so I’d call this an optional step. Besides, you can add it afterwards. However, having the Wi-Fi connection means that you can download clips without removing the card from the camera. This involves the use of a tool, as I couldn’t insert or remove it easily with a fingernail.
Dashcam in Use
The VIOFO A229 PRO Dashcam starts up and begins capturing video as soon as you start the car. The recordings continue until the card is full. Once it’s full, it’ll start overwriting them. The output from all three cameras is saved in parallel on the card and in one-minute segments. The reason for this is partly for security. If a video becomes corrupted, you won’t corrupt the previous hour, just the last minute.
Once the camera is installed, it’s entirely trouble-free. There are many buttons on the front of the unit, but honestly, you might never need them. It’s a good idea to know what they all are, though. In brief, there is a menu button, power on and off, big triangular “emergency video protect” button (which prevents the current capture from being overwritten), microphone on and off, and Wi-Fi on and off. Turn to the manual to learn more about them. Personally, I turn off the internal microphone to prevent my inane conversations/harsh language being recorded for posterity.
The fitting of the optional hardware wiring kit means the system has “always on” power so that you can, in emergencies, automatically record the inside and outside of the car, even when the car is turned off. The parking mode, which initiates recording when something moves or the motion sensors record a collision, is only available when the unit is powered via the hardware wiring kit.
The main camera, the brain of the system, is easily removable using a slide bracket, for security and for offloading the footage onto your computer.
How Does It All Add Up?
The VIOFO A229 Pro is a great top-of-the-line dashcam, and the inclusion of the monitor in the body of the main camera is a boon. Although you can link the camera to your smartphone via wireless link, having a monitor on the actual camera makes it all much easier. Setting up the camera initially with a monitor is a breeze, as you can see what the camera sees. Usually, this is an incredibly fiddly process, going back and forth with the Wi-Fi and your phone.
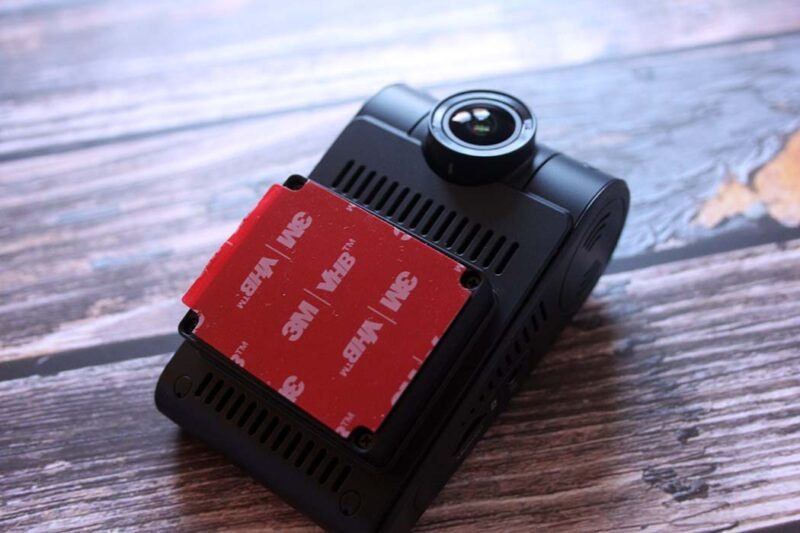
There is one small problem with having the monitor on the back of the unit. It’s a lot bigger. In most cases, the units are small, and with no monitor on the back, can be concealed behind your rearview mirror. Because you need access to the back of the unit, it has to be off to one side or the other slightly, and this presents a few problems. If you have it on the driver’s side, the screen can provide a minor distraction. It gets in the way. The best option is to slide it slightly over to the passenger’s side. It’s less of a distraction and provides more room, as the mirror is tilted toward the driver.
The positioning of the interior camera is similar. It’s better for sight lines if you put it in the corner of the passenger side rather than the driver side. For starters, the driver may also have their GPS unit installed on their side of the car, and it’s a good idea to spread these things out.
Note: in countries that drive on the right, the main unit will be in the center, and the interior camera on the right on the passenger side, so that’s where the port is for the interior camera, on the right. This means in a UK car (where I am), you have to bend the cable around the unit to get to the interior camera.
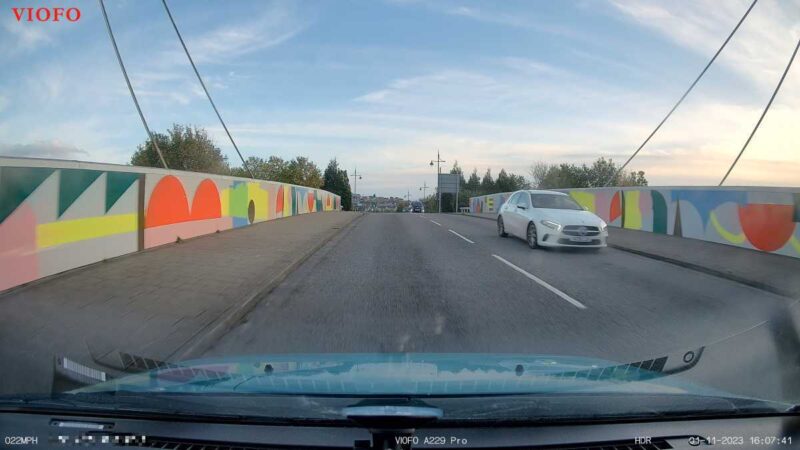
The high resolution is a good selling point from the point of view of customers who are sensitive to technical specifications, but there’s a more serious side to this. Dashcams are not recreational cameras – they are security cameras and safety equipment. High-resolution pictures enable you to read car license plates more clearly, which in the situation of a Road Traffic Accident (or RTA as we call them here in the UK) could make all the difference. Being able to recognize the image of a person who tries to boost your car is important, too.
Picture quality is superb, at least when lighting is perfect. Take, for example, this full-res zoom of the hedge in my driveway:

Nice detail, even in quite low light.
There were initially some small problems with the quality of motion video during the test (moving images were a little blurry) but Viofo released a timely firmware upgrade which seems to have sorted it out. It was a minor quibble at best, so bravo for them solving the problem quickly.
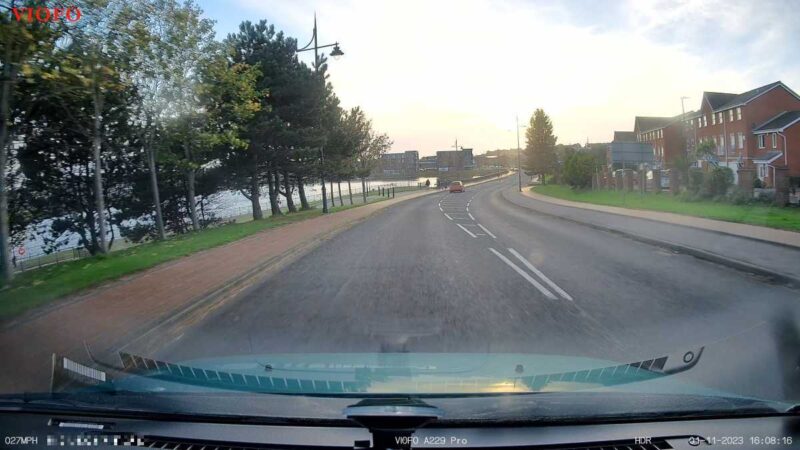
Besides at the end of the day, this is a dashcam and not a DSLR, and while image quality is important, nobody apart from nutters like me are going to be zooming in on videos to the pixel. The most important thing is capturing events and it does this beautifully.
Availability
The VIOFO A229 PRO kit is a great high-end dashcam, and I recommend it very highly. It’s fully featured and has all the perks you’d expect with a dashcam of this level. You can get it in 2CH and 3CH versions.
The VIOFO A229 Pro 3CH Dashcam has a retail price of $389.99, but it currently has a 23% off discount, and you can take off 5% more with the code MTE229PRO. The VIOFO A229 Pro 2CH Dashcam has a retail price of $359.99, but it currently has a 22% off discount, and can also get 5% off with the same code. In my opinion, for a state-of-the-art dashcam like the A220 Pro, that’s an entirely acceptable price point.
Our latest tutorials delivered straight to your inbox